# WordPress Blog/Homepage Creation #Previous Posting Display Link – WordPress Blog/Homepage Creation Installation Preparations (3)(1)https://blog.naver.com/prompter99/223015317676

WordPress blog/homepage production and installation preparations (3) (1) WordPress can be found in detail on the Internet, so I will omit it This time, when WordPress was developed… blog.naver.com

– WordPress Blog, Homepage Creation – Unzip WordPress Installation (2)https://blog.naver.com/prompter99/223018003393
WordPress Blog, Homepage Creation – Unzip WordPress Installation Files (2) # Posting View Before WordPress Creation # – WordPress Blog/Homepage Creation Installation Preparations (3)(1)…blog.naver.com

After decompressing the WordPress installation file, upload the installation file in the Compressed Pung folder to a hosting server purchased or prepared from https://blog.naver.com/prompter99/223015317676
TMI: I will post additional instructions on how to initialize from my hosting and install a new one.If you purchase hosting first (as I told you before, I will explain based on the full SSD product standard of Cafe 24)

Other products are also heard that the left menu of the host is different.If you log in to the host ( cafe 24) is first, the host menu, the host menu will display the usage monitoring.Click the menu, you can verify the capacity assigned to the server.I captured the appropriate screen after initialization processing process, I captured the appropriate screen.I’ll see the FURL SD 500M products, and the remaining capacity is 500M.Upload the password press installation file to the assigned to 500M and verify that the password press file that is used to verify that the remaining capacity of the host server.The remaining capacity-assigned space for the host is the process of upload server, and upload files to the host space that you purchased the password press installation file.FTP is planning to explain another.(Please try to upload it too long, so please try to upload it to upload it

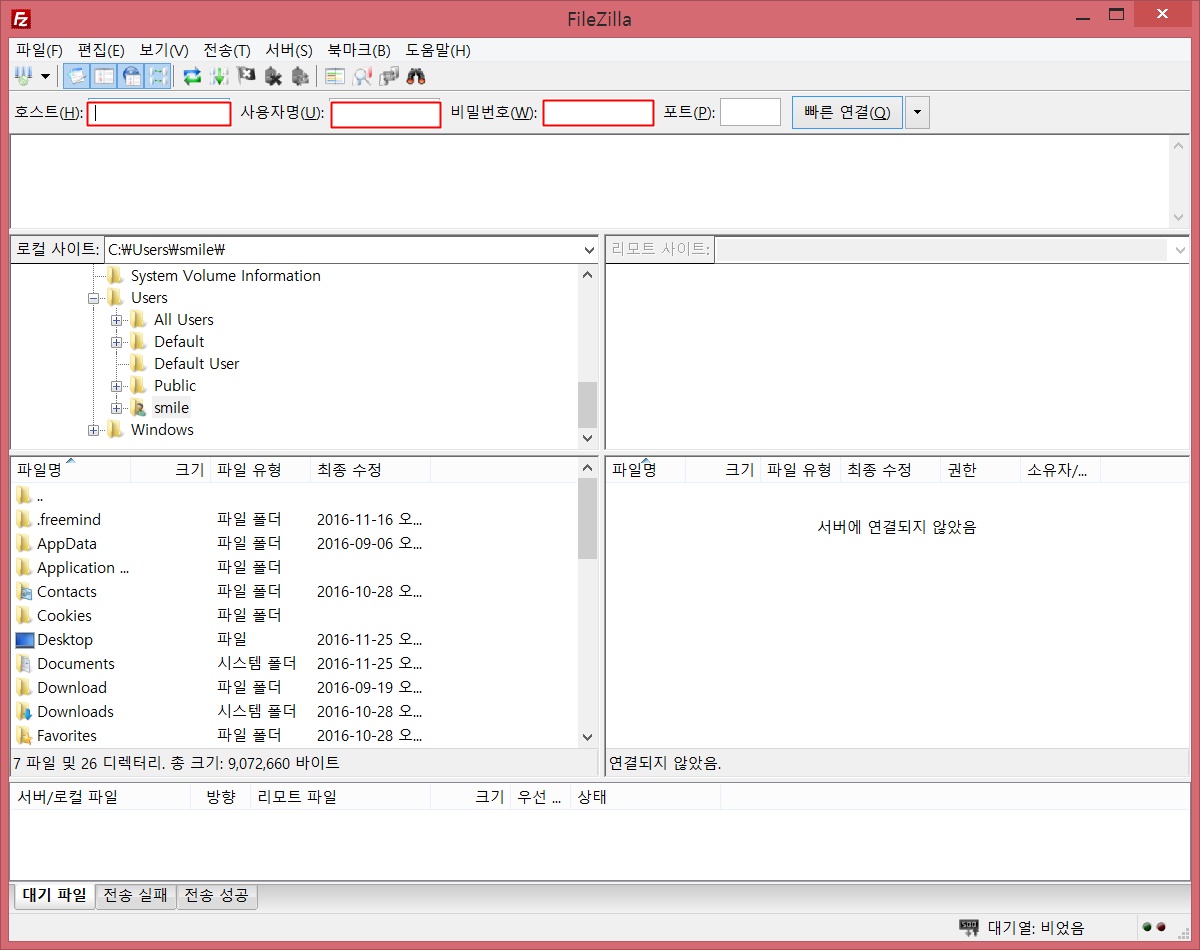
If you look at the screen, the top is divided into server space (hosting allocation space) and the bottom into local area (your PC folder). The FTP program I used is Filezilla, but it may not be the same as the screen, but I am using it like this because I am used to it.It can be divided into left and right, but please use it in a way that is easy for you to understand.I use the UI like this because it’s easy to do things like this up and down.1)Filezilla FTP program shows files on the left > Site Administrator > Enter the domain and FTP user ID/password of the host you purchased and press the Connect button below.

– Host: You purchased domain input (CAFE24.com or cafe 24 subdomainxx; the FTP ID-user—The request for example, which is also required to purchase the FTP ID- password: The host..

When you connect to the server via FTP after entering three items, only one index file named hosting_index.html appears under WW/folder as shown on the screen.The screen below is the first screen that you can see when you sign up for Cafe 24 hosting, and the server file you can see is the index file of the landing screen.
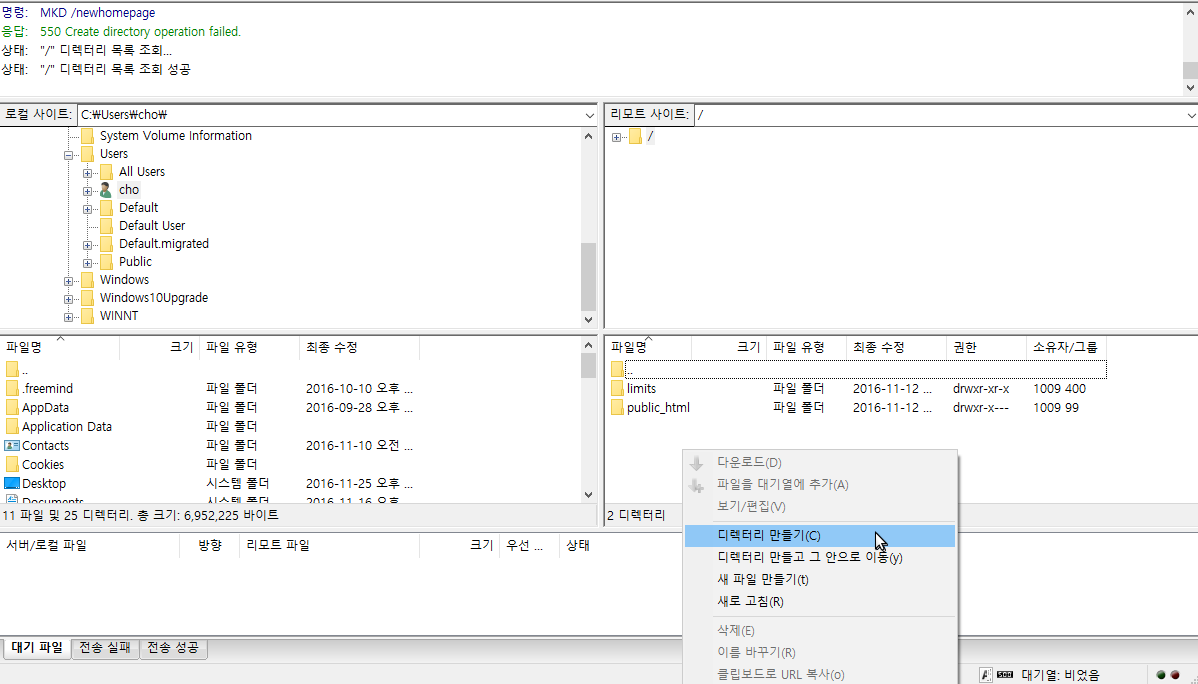
Upload the previously uncompressed WordPress installation file to FTP in the server space of that index file only.Control + A files in the bottom local area, or click the top file and press the shift key to select all files.If you right-click in that state, the Upload menu appears.When you click the Upload button, your local folder (your PC folder) word press files are uploaded randomly to the hosting server space.Files begin to be uploaded onto the server very quickly.Importantly, if all WordPress installation files are not uploaded to the hosting server space, no errors will occur during installation. 5 important stars; Installation error when few installation files are uploadedIf you look under FTP, it looks like a successful transfer (2998) and you can see how many files the entire file went up successfully.The number of files in that parenthesis may not necessarily be 2998 because each wordpress version has a slight difference.However, the part that must be checked should not include the number of missing files in the transmission failure tab next to the transmission success tab.The file may be necessary for the installation, so if it says transfer failed (3), press that tab to re-upload the three failed files to the server and there should be no transfer failure files.When the transfer is complete, check how much hosting space is left after the word press file has been uploaded correctly to my hosting space above.Hosting capacity after WordPress installation file server uploadAfter uploading the 6.1 version 2998 file, 79M out of 500M capacity is uploaded, and the remaining space is 421M.Other WordPress versions should have different file counts and capacities.Once completed, the WordPress installation file hosting server upload process is complete.”The homepage (blog) screen where only index files were visible at first should be changed to the WordPress installation screen.” (Enter the domain you purchased or the subdomain (000.cafe24.com ) provided free of charge at Cafe 24 in the browser address window. )< WordPress Installation File Pre-Installation Screen – First Hosting Index Screen ><Screen visible after uploading WordPress installation file to FTP hosting server>Domain connection screen after uploading WordPress installation fileI uploaded the installation file to the server, so I still have some time left to seriously install warpless.Read on


